
 by
by Disclaimer: I am not an expert at this, I am just showing the way I was able to convert my DC locomotive to DCC. This works on most older locomotives. But do your research a lot of trains are DCC ready and all you need to do is remove a jumper plug and plug in the correct decoder or swap a board and you are done.


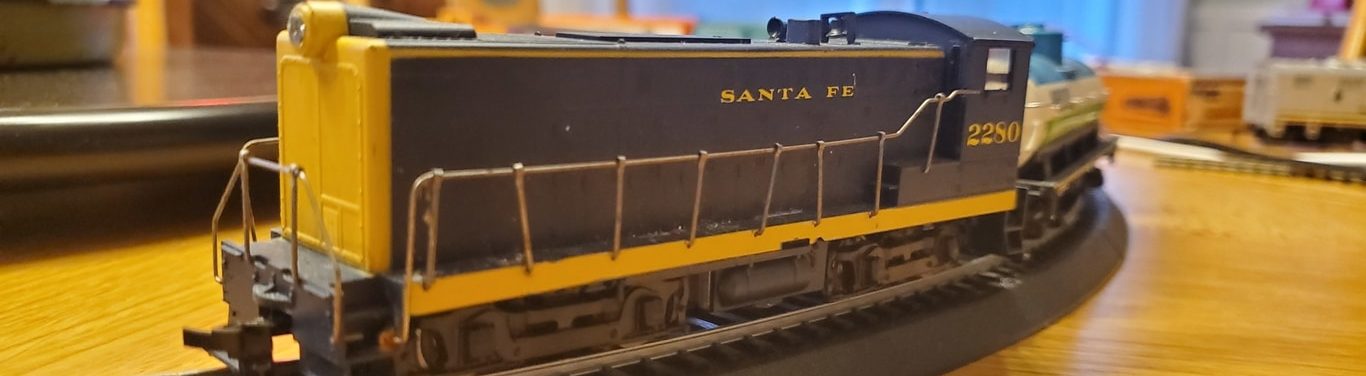
When I got this locomotive I knew I would be converting it to DCC. So while at the train show I found a soundtraxx MC2H104P9 DCC decoder. This is a low end cheap decoder that will control speed, direction, front light, rear light, and 2 other lights. I am thinking about putting in two LED ditch lights or a cabin lite later on, I haven’t decided yet.
Installing a Decoder is not hard: Installing a decoder is not hard at all. It’s just a matter of studying your locomotive finding out where the wires go and putting the decoder between the power from the track and each item to control (Motor, Lights). On my first train I just twisted the wires together and used tape, but on this one I used my soldering iron and covered the connection with shrink tubing. Worked like a charm!

Having the correct tools to get the job done is key. I got some tools from my garage but others I got from harbor freight, don’t need top end tools for this kind of work. I got some new tools from harbor freight to keep with my train stuff so I am not always hunting them down. I’ll just have a tool box just for my train tools.
* Click the photo’s to see the larger image.

Once the body is removed from the chassis you can see the wires. At first glance it looks like this one already has a circuit board so is it already DCC? Nope it’s not, this is just a circuit buss, It just allows current to move between 2 or more points. This board also has diodes so the lights on either end of the loco are only on in the direction the loco is moving.

As you can see the decoder is not that small so I needed to figure out where I was going to place the decoder so that I can still put the body back on the locomotive. I also found that pulling the wires up so you can get a clear understanding of what wires do what helps a lot!

For me I found that I can use the existing board as a way to get power from the track to the decoder, I also removed the diodes as they are not required because the decoder will control each light. After soldering the power wires to the board and removing the motor wires from the board I found the decoder motor leads and twisted the wires to the motor wires then put a little solder. I did the same for the lights.
Note: After adding the power wires and twisting the motor wires together (before adding any solder on the motor wires) I put it on the track, then used the decoder default short address of 3 to move it forward and backwards. Just to be sure I had the polarity correct on the motor and that the unit is getting power. I found that I had to switch the wires to the motor so the locomotive would move in the correct direction.

In the above photo I used shrink tubing to cover my soldered joints so they don’t short on anything, this is also way better than using electoral tape that can unexpecting come off. The shrink tubing was less than $2 at harbor freight.
I also found that for the negative wire for the lights I could solder a jumper wire between the two lights on the board and the negative wire from the decoder this cut down on extra work and made the install more clean. The two wire (Brown & Green) that are not connected to anything are for future lights that ill add later.

Now that we have everything wired up I need to hold down the wire and place the decoder where it won’t get in the way of any moving parts. Heat is also an issue with DCC decoders, If they get too hot they can burn out. So I didn’t put any tape over the decoder! I did used electoral tape to hold down the lights and the wires so nothing would get pinched when putting the body back on.
Mounting Tape: Electrical tape is not the best stuff to use but it’s what I had, I just made sure not to cover the decoder or the motor in any way. You can find some tape that does not hold in the heat to sue for mounting, but for my project this was good enough. Oh one more thing do not use double back tape on the decoder that stuff will hold in the head & brake down and get it in your motor or drive train over time.
Now that we have everything in it’s pace just put the body back onto the chassis and install the screws and you are good to go. You just need to put it on your programming track and add it to your DCC system like you would with any DCC ready Locomotive.
OK lets try out the newly DC to DCC converted locomotive.


Facebook Comments